 in Google Sheets")

")

")


")


")


Back in 2019, Google Sheets introduced a handy new feature in its Insert menu: the ability to insert images directly into cells—without using any formula. That’s right—no need to use the IMAGE function anymore.
A Quick Recap of the Old Method
Previously, using the Insert menu would only place images over the cells—not in them. If you wanted to embed an image directly into a cell, your only option was the IMAGE function.
And to be honest, that method had its flaws. For example, inserting an image from Google Drive into a cell using the IMAGE function wasn’t exactly smooth. Even if you managed to do it, the image might not load the next time you open the file.
That happened to me more than once.
The New Feature Fixes That
Now, thanks to the new “Insert an image in the cell” option, all that hassle is gone. Just head to the Insert menu in Google Sheets and choose Image > Insert an image in the cell. You’ll be able to insert images directly into cells—no formula needed.
If you don’t see the feature yet, don’t worry—it might still be rolling out to your account. You should get access to it soon.
Sources Supported by the “Insert Image in Cell” Feature
With this new feature, you can insert images from several sources:
- Upload directly from your computer
- Take a snapshot using your webcam
- Use an image URL
- Select from your Google Photos albums
- Browse and insert from your Google Drive
- Search Google and insert stock or web images
Exciting, right? Let me walk you through an example.
Insert Images from Google Drive into Cells
To insert images from Google Drive into individual cells, just follow these steps:

Steps:
- Go to the Insert menu → Image → Insert an image in the cell
- Select the Google Drive tab
- Browse your Drive and click on the image you want
- Click the Insert button
The chosen image will be inserted into the active cell in your sheet. It’s probably the fastest way to get images from Google Drive into cells.
Bonus Tip
One thing I noticed: the inserted image preserves its aspect ratio. This is similar to using mode 1 (the default) in the IMAGE function.
If you want to view the image properly, just increase the row height and column width of the cell.
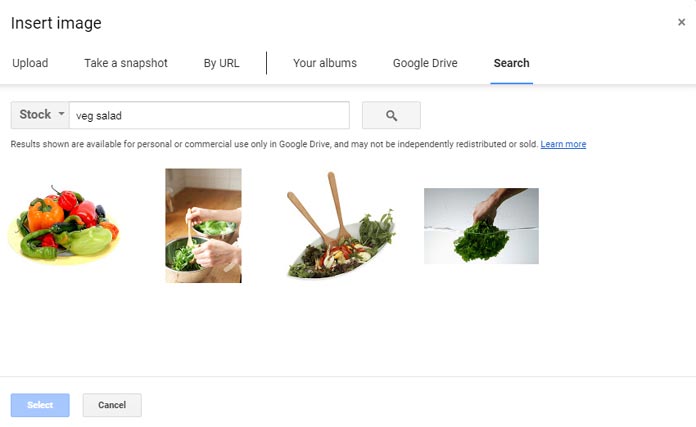
Insert Images Using the Search Tab
You can also use the Search tab under Insert > Image > Insert an image in the cell, then click on Google Images to find and insert:
- Web images from Google Search
Just type a keyword into the search box and hit enter. Most of these images are free to use within Google Docs and Sheets, but always double-check the usage rights if you plan to use them outside Google platforms.
Why This Is Useful: A Teaching Example
Let’s say you’re a teacher. You’ve uploaded photos of animals to your Google Drive and now want to insert them into a sheet for your students.
You could type animal names in Column A and insert corresponding images in Column B. Then, in another sheet, use a VLOOKUP to fetch the image for a given animal.
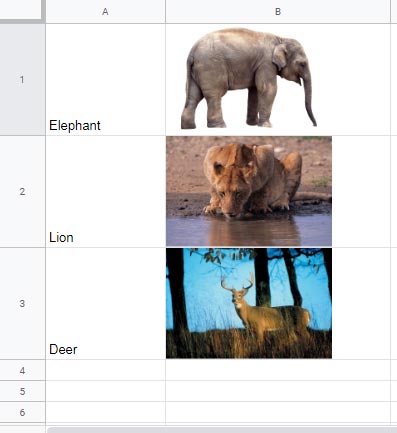
For example, in Sheet2, this formula will return the image of a lion from Sheet1:
=VLOOKUP("Lion", Sheet1!A1:B, 2, 0)Conclusion
I hope the above examples clearly show how to insert images into cells without a formula in Google Sheets. When this feature launched in 2019, it solved a long-standing limitation—and it’s still one of the most user-friendly updates to Sheets.
How can I do this in bulk over a specified range of cells?
Hi, Christina Wilson,
As far as I know, we can insert one image at a time. But, as you may already know, we can copy-paste the inserted image into multiple cells.