This time, let’s learn how to create a table and pin and unpin header rows in Google Docs.
A table in Google Docs helps you organize information in rows and columns. Once created, you can format it in many ways—including a handy feature called pinning header rows, especially useful when your table spans multiple pages.
What Does “Pin Header Rows” Mean in Google Docs?
When you enable this feature, Google Docs repeats (or “pins”) the selected header row(s) at the top of each page your table appears on. This keeps your column labels visible across pages, improving readability and professionalism.
How to Create a Table in Google Docs
Follow these quick steps to insert a table:
- In your Google Docs document, go to Insert > Table.
- Use the grid to select the number of rows and columns you want, then click to insert the table.
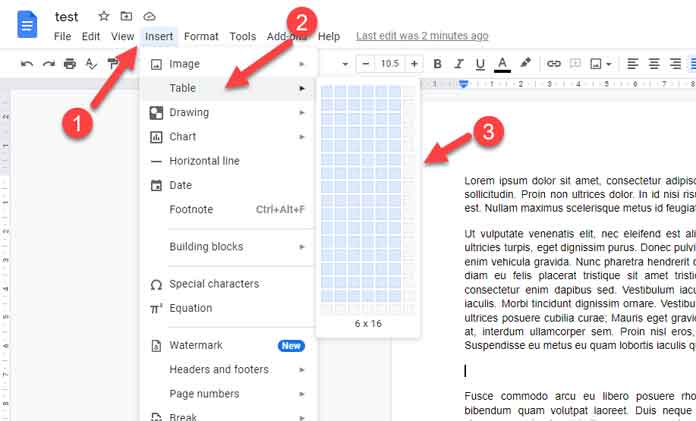
Tip: You can insert a table up to 20 columns by 20 rows using the grid. However, you can always add more rows or columns later.
Basic Table Customization Options
Before we move to pinning and unpinning headers, let’s cover some key table formatting features.
Add or Delete Rows and Columns
You can quickly add or remove rows or columns by right-clicking any cell in the table and choosing from the following options:
- Insert column left / right
- Insert row above / below
- Delete column / row
To modify multiple rows or columns, select more than one cell vertically (for rows) or horizontally (for columns), then right-click and apply the desired action.
Pro Tip: To quickly add rows at the bottom of the table, place your cursor in the last cell and press Tab. This automatically inserts a new row.
What Are ‘Distribute Rows’ and ‘Distribute Columns’ Options in Google Docs?
When you manually adjust row height or column width, your table can look uneven. To fix that, use:
- Distribute rows – evenly adjusts the height of all selected rows.
- Distribute columns – evenly adjusts the width of all selected columns.
You’ll find both options in the right-click menu.
How to Pin and Unpin Header Rows in Google Docs
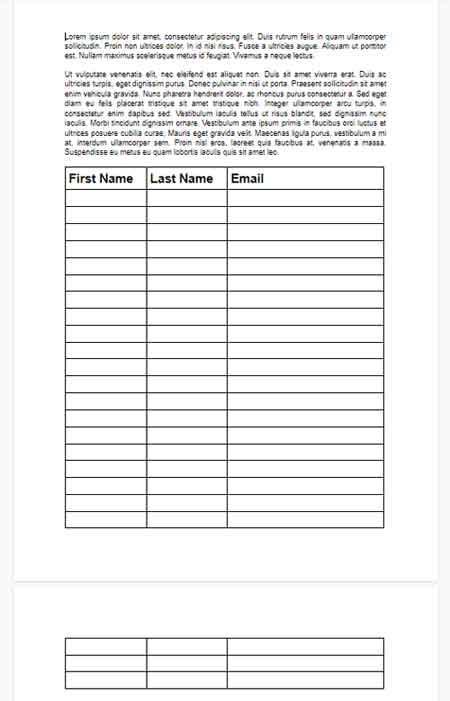
To use this feature, you must have a table that crosses more than one page.
How to Pin Header Rows
- Create a table with enough rows to spill over to the next page.
- Click any cell in the first row (your header).
- Right-click and choose Pin header row.

Want to pin multiple header rows (e.g., two)?
- Right-click any cell in the second row, then select Pin header up to this row.
Once pinned, the header row(s) will appear at the top of each page where the table continues.
How to Unpin Header Rows
To unpin:
- Right-click any cell within the pinned header section.
- Select Unpin header row(s).
That’s it—your table headers will no longer repeat across pages.
Final Thoughts on Pinning Header Rows in Google Docs
Now you know how to create a table and pin and unpin header rows in Google Docs. This feature is especially helpful for long tables, ensuring column labels are always visible across pages.
Thanks for reading. I hope this helped!
Resources
- How to Create an Org Chart in Google Docs
- Create a Clickable Table of Contents in Google Docs
- How to Create First Line Indent and Hanging Indent in Google Docs
- How to Split a Table in Google Docs
- How to Use Section Break in Google Docs
- How to Insert Drop-downs in Google Docs Documents
- How to Make Just One Page Landscape in Google Docs


Thanks so much for your clear and concise help!