")
")


")


")

")
")
 in Excel & Google Sheets")


Sometimes, you may need to include a wide table, an organizational chart, or a large image that doesn’t quite fit in Google Docs’ default portrait orientation. Instead of switching the entire document to landscape, Google Docs allows you to make just one page landscape—perfect for these cases.
In this tutorial, I’ll walk you through how to make just one page landscape in Google Docs, why it works, and what’s happening behind the scenes.
Make Just One Page Landscape in Google Docs
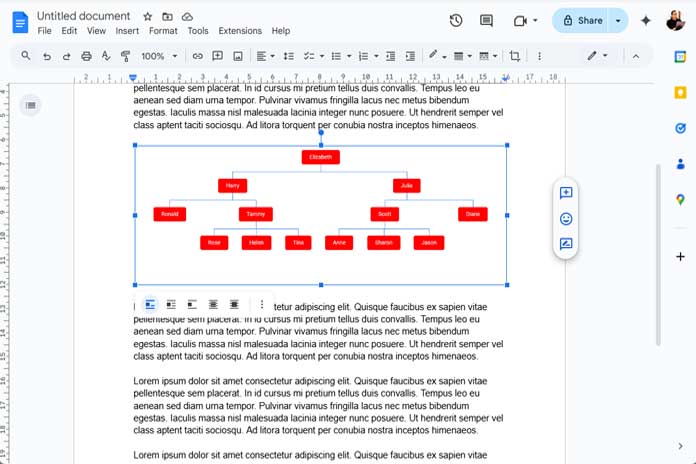
Let’s say you have an organization chart that needs extra horizontal space.
Steps:
1. Select the content you want on a landscape page — it can be a chart, a table, or even just a block of text.
2. Go to File > Page setup.
3. Under Apply to, choose Selected content.
4. Select the Landscape orientation.
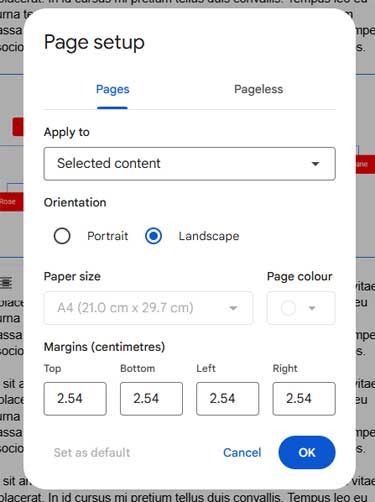
5. (Optional) Adjust the margins (top, bottom, left, right) if needed.
6. Click OK.
Google Docs will now move the selected content to a new page with landscape orientation, keeping the rest of your document in portrait mode. You’ve just made a single page landscape in Google Docs—without affecting the entire document layout.
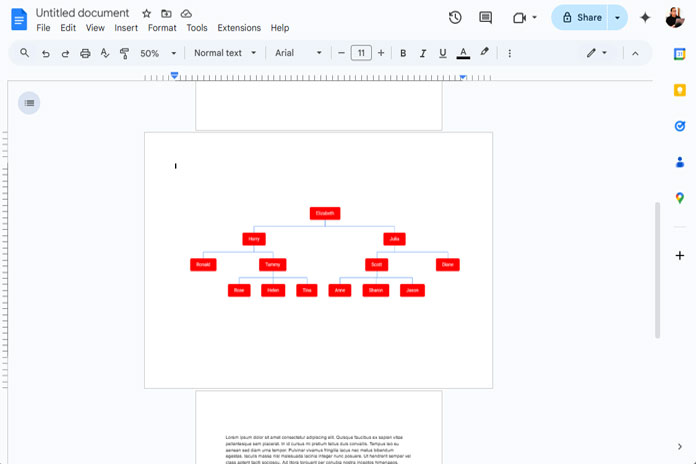
This is the simplest and most straightforward method to rotate only one page to landscape view in Google Docs.
Use Case: Wide Tables, Charts, and Images
This feature comes in handy when:
- You have wide tables that are getting cut off or overflowing.
- You’re inserting org charts or flow diagrams that need more horizontal space.
- You’re adding large images that don’t display well in portrait mode.
Instead of shrinking or splitting these elements awkwardly, converting just one page to landscape keeps your formatting clean and professional.
What’s Happening Behind the Scenes?
When you make just one page landscape in Google Docs, the app isn’t simply rotating a single page. It actually uses section breaks to isolate the landscape content.
Here’s what really happens:
- Google Docs inserts a Section Break (Next Page) before and after the selected content.
- These section breaks create separate formatting zones within the document.
- The landscape orientation is then applied only to the new section.
Without section breaks, Google Docs can’t apply different formatting to different pages. So this technique is actually a neat way of using section breaks without inserting them manually.
If you’re curious, you can go to View > Show non-printing characters to see where the section breaks are inserted. They’ll appear as blue text labels (e.g., Section break (next page)).
You’ve learned how to make just one page landscape in Google Docs. But what if you want to revert that landscape page back to portrait mode?
Of course, you can go to File > Page setup and change the orientation back to Portrait. However, the section breaks that were automatically inserted will still remain in the document.
To fully revert the formatting, it’s a good idea to remove those section breaks as well. Here’s how:
Go to View > Show non-printing characters.
You’ll see the blue text indicating section breaks (as mentioned earlier).
Click just to the left of each section break and press Delete to remove them.
This ensures your document returns to a clean, continuous portrait layout without any leftover formatting divisions.
Section Break (Next Page) vs Section Break (Continuous)
There are two kinds of section breaks in Google Docs:
- Next Page – starts the new section on a new page.
- Continuous – keeps the section on the same page but with separate formatting.
When you apply landscape orientation using Selected content, Docs automatically uses the Next Page break. Even if you’ve set a Continuous section break before, changing the orientation will force it to switch to Next Page. This is important to keep in mind if your formatting seems to jump unexpectedly.
Conclusion
Using the Selected content option in Google Docs is the best way to make a single page landscape. It’s quick, clean, and doesn’t disturb the rest of your document. Whether it’s for a wide table or a detailed chart, knowing how to make just one page landscape in Google Docs gives you more flexibility with your layouts.